Composting is a controlled process of decomposition used to transform organic material such as kitchen scraps, yard wastes and paper products into humus. Humus, or compost, is a dark, soil-like substance that enriches soil with nutrients, increases moisture retention, improves structure and provides a good environment for beneficial soil organisms. Composting is usually done outdoors, but the process can easily be adapted for indoor use. So you can compost even if you don’t have a yard, or if you don’t like going out to a compost bin in the snow, or if you want to produce the highest quality compost there is: vermicompost!
What is vermicomposting?
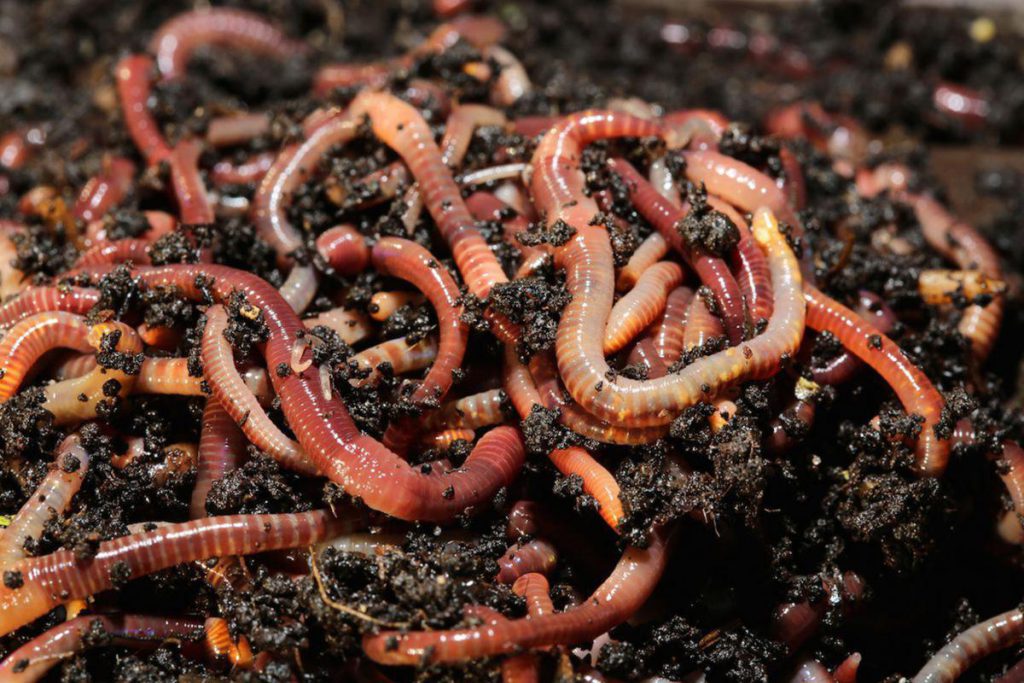
Vermicomposting is simply composting with earthworms. Earthworms speed up the composting process, aerate the organic material in the bin, and enhance the finished compost with nutrients and enzymes from their digestive tracts. The best kind of earthworms to use are red worms, also known as “red wigglers” and “manure worms”. These worms thrive in decomposing organic matter such as leaf piles, compost heaps and old manure piles. They are smaller than nightcrawlers and are reddish brown in color. Red worms are native to Europe but have become naturalized throughout the U.S. Red worms are a good indicator of fertile soil because their presence indicates high organic matter content and a lack of toxic substances in soil.
Red worms make composting indoors feasible because they are very efficient processors of organic waste; they eat and expel their own weight every day. Even a small bin of red worms will yield pounds of rich compost, also known as worm castings. Finished compost can be harvested in as little as two to three months. Redworms are extremely prolific. It takes about three weeks for fertilized eggs to develop in a cocoon from which two or more young worms can hatch. In three months the worms become sexually mature and will start breeding. Within a year you’ll be able to give worms away to get a friend started! And you’ll never have to buy bait for trout fishing again!
Where can I get a worm bin?
Worms and bins are also available from Flowerfield Enterprises, Planet Natural, and Uncle Jim’s Worm Farm. The least expensive way to obtain a worm bin is to make one from a plastic or wooden container by drilling air holes in the sides and top. Plastic containers can be purchased from a hardware or department store. Get one with a lid. Since worms do not like light, an opaque container is preferable to a translucent one, unless the bin is kept covered with a dark cloth. The larger the container, the more material you will be able to compost. A deep bin is preferable to a shallow one because it allows more room for layering and burying fresh material.
| number of people | quantity of worms | bin size |
| 1 or 2 | 1 lb. | 15″h x 1.5’w x 2’l |
| 2 or 3 | 1 lb. | 15″h x 2’w x 2’l |
| 4 to 6 | 2 to 3 lbs. | 15″h x 2’w x 3.5’l |
How do I convert the bin to a worm bin?
Drill holes approximately 3″ apart in the sides and cover of the bin. The holes should begin approximately 4″ from the bottom of the bin. The holes should not be wider than 1/8″. Some guides recommend drilling holes in the bottom of the bin for drainage, but this is optional. If you provide drainage holes, you will need a tray to catch excess moisture. If you do not provide drainage holes, you will need to add extra dry material if the bin starts to develop puddles in the bottom. Red worms thrive in a very damp environment (at least 50% moisture), but puddled water will eventually result in odor formation.
How do I prepare the bin for the worms?
First, you will need bedding for the worms. Red worms can survive and breed in many kinds of bedding materials. The worms eat the bedding as it decomposes, turning it to compost along with the kitchen scraps you add. The bedding should be a high carbon material, such as fall leaves (best if small or shredded), shredded paper (such as newspaper, paper towels, napkins, paper bags), ground cardboard or peat moss, or a combination of these materials. If you use peat moss, make sure to mix it with other bedding as it is too acidic to use alone. Dampen the bedding until the moisture content is 50% (as damp as a wrung out sponge). It is important to keep the bedding this damp or the worms will die. Mix a few handfuls of soil or finished compost with the bedding. The bedding should fill the bin about 3/4 full. Vegetative wastes are buried underneath the bedding, which filters out any odors from the decomposing material below. The whole mixture will turn to compost in about 3 months. Now it’s time to add the worms!
Where can I get Redworms?
See the suppliers noted above. You may also find a commercial source of redworms in your area by checking the Yellow Pages under the heading “Fishing Bait.” Be sure to ask for redworms or red wigglers.
In nature, redworms can be found in decaying leaves, manure piles or other organic material, such as compost piles. If you have access to such areas, you can collect your own redworms. A few handfuls are enough to start a bin, but add only small amounts of food scraps until the worm population increases enough to handle more (3-4 months).
What do I feed them?
Worms will eat just about any type of kitchen waste including vegetables, fruits, coffee grounds, tea bags and egg shells (crushed). Do not add meat or meat byproducts. Bury the food scraps completely, so that they are always covered by bedding; this prevents development of odors and fruit flies. Don’t add more food scraps than the worms eat in several days. The worms can’t eat the food until it starts to decompose, so it may take a few months for the bin to get up to speed. For fastest decomposition, chop the food scraps into small pieces.
Can worms live outside during colder months?
Worms prefer temperatures between 40 and 80 degrees Fahrenheit. If you live in an apartment building they can live quite happily out on the balcony until temperatures drop to 40 degrees. After that they should be taken indoors. Basements or garages that don’t freeze are good locations for worm bins.
How do I harvest the finished compost?
After about 3 months you’ll notice that the volume of materials has dropped substantially and the original bedding is no longer recognizable. At this point the finished compost and worms can be moved over to one side of the bin and new bedding added to the vacant side. Put new food wastes into the fresh bedding only, so the worms will move from the finished compost in search of new food. After two weeks or so remove the lid under a bright light source. The worms are sensitive to light and will burrow away from it. Scoop out the finished compost a few layers at a time and place in a plastic bag or container until you’re ready to use it. Latex gloves are very convenient for this task. Now add fresh bedding and the process begins again!
How can I use the finished compost?
Vermicompost, or worm castings, provides nutrients to your plants and helps the soil hold moisture. Growth trials indicate vermicompost has a more beneficial effect on plants than compost produced without worms, although the reasons for this are still not entirely understood. Vermicompost can be used in a number of different ways:
- Mix it into the seed row when planting.
- When transplanting, add a handful of vermicompost to the hole you have dug for the plant.
- Use as a top dressing, placing a layer of vermicompost around the base of plants (but not in contact with the stems).
- Mix with potting soil and sand (1/3rd each) for house plants.
- Give a quart away (with the worms still in it) to someone else who wants to start vermicomposting.
Sources:
http://www.franklincountywastedistrict.org/vermicomposting.html